
Get startedOverview
At a glance
- Pick an AI to work with
- Install and connect it
- Choose a folder to work in
Devalley 0.21.0
Welcome your first resident and follow the work and the replies in one place.
Set up your village and welcome your first resident.
Get startedOverview
Get started1/5
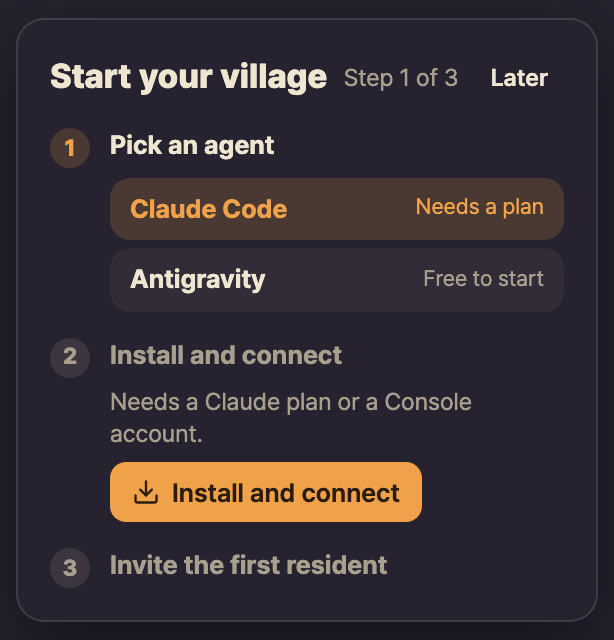
Look for Start your village
in the residents panel.
Get started2/5
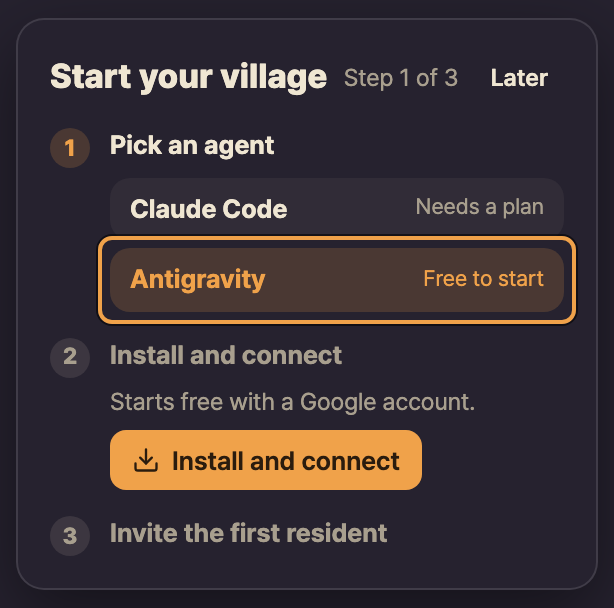
Choose an agent, an AI that helps you code, under Pick an agent
.
Get started3/5
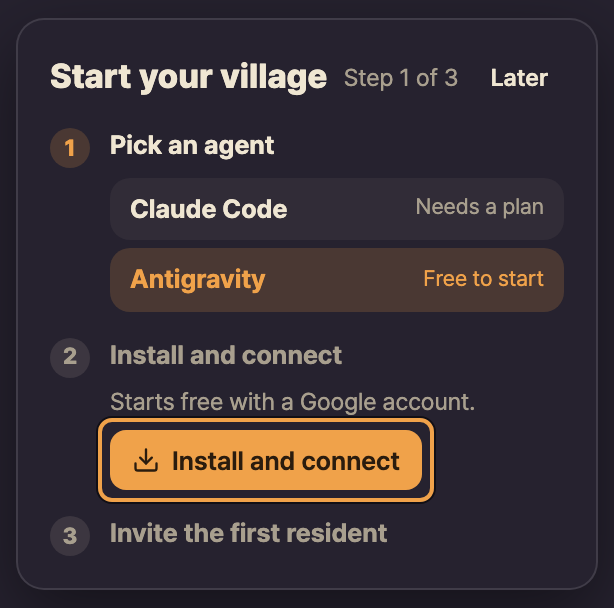
Select Install and connect
and follow the steps on screen.
Get started4/5
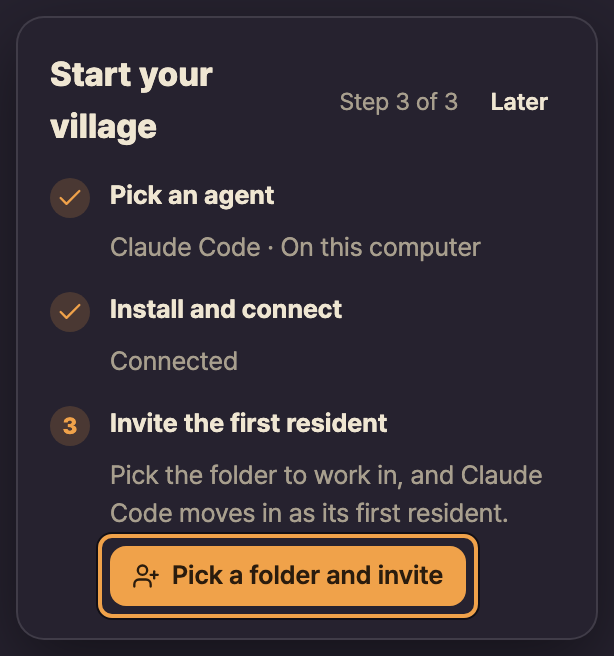
Select Pick a folder and invite
and choose where you’ll work.
Get started5/5
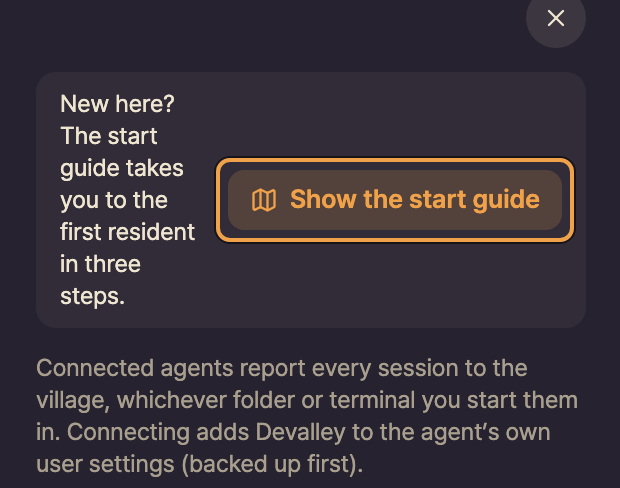
Open Connect agents
and select Show the start guide
.
Bring the AI you already work with into your village.
Connect your AIOverview
Connect your AI1/6
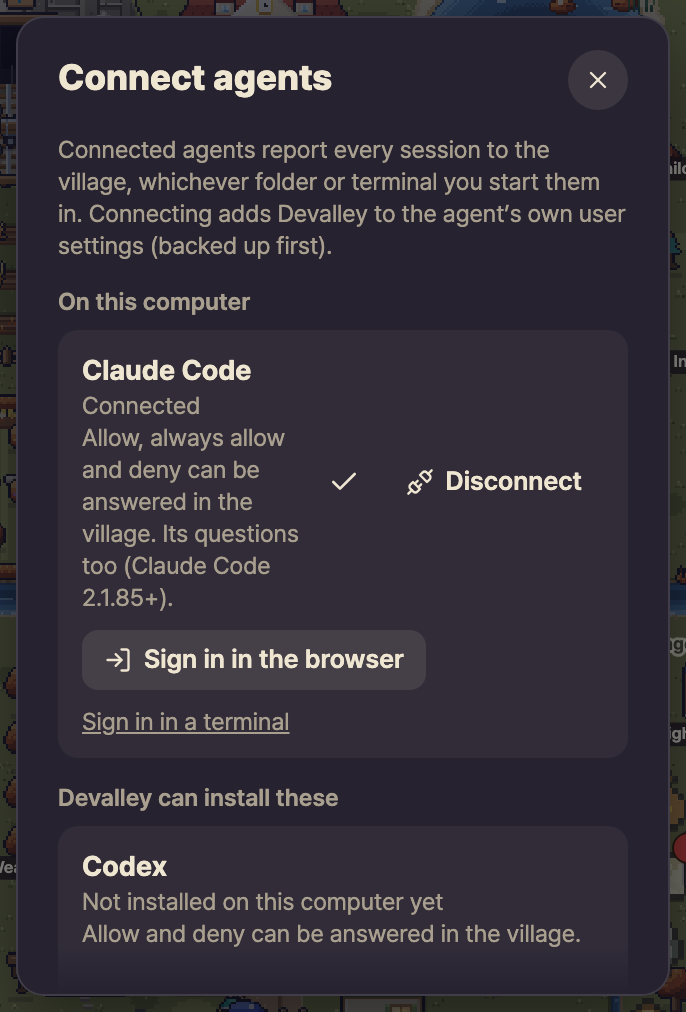
Open Connect agents
to see which AI tools are on this computer.
Connect your AI2/6
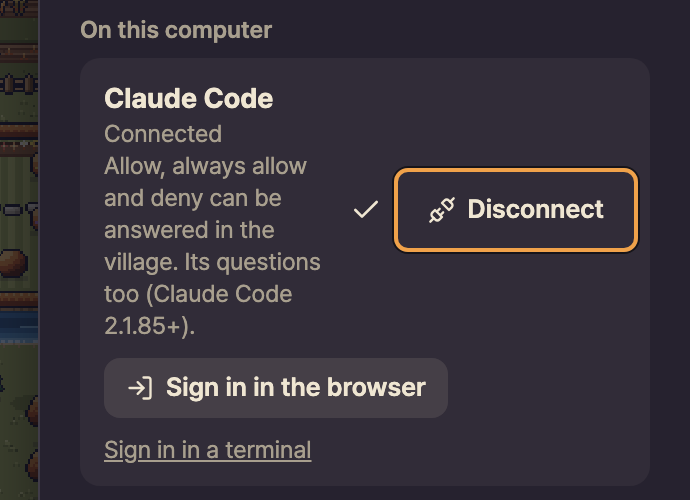
Select Connect
to see your AI as a resident when it works. Choose Disconnect
to remove it from the village.
Connect your AI3/6
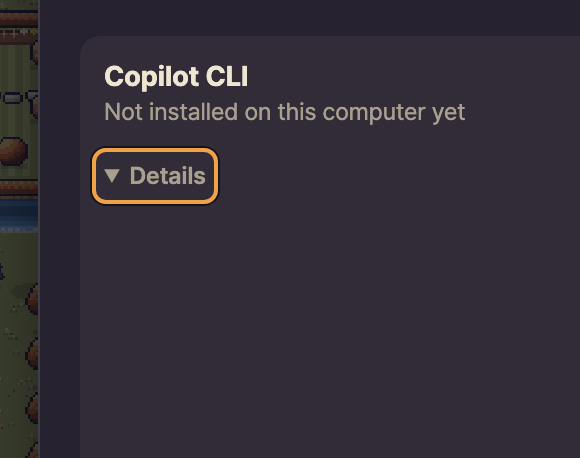
Expand Details
to see what your AI can do in the village.
Connect your AI4/6
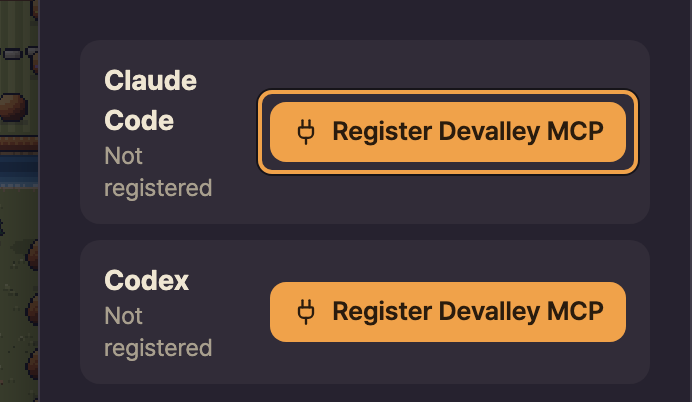
Enable the village tools with the highlighted button so your AI can send letters.
Connect your AI5/6
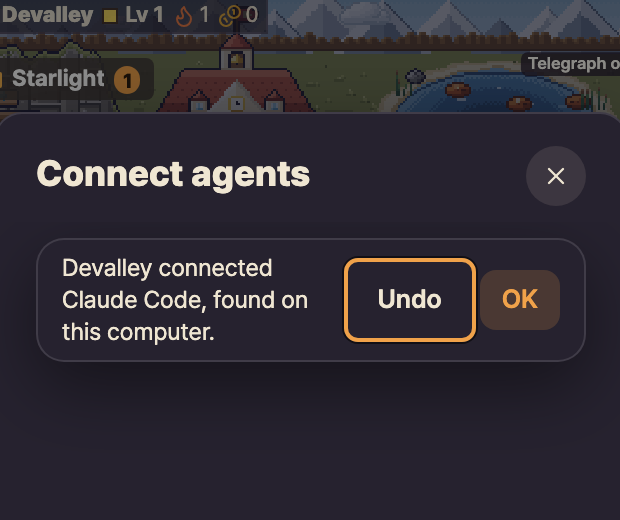
Choose Undo
to reverse a connection Devalley made after an update on your Mac.
Connect your AI6/6
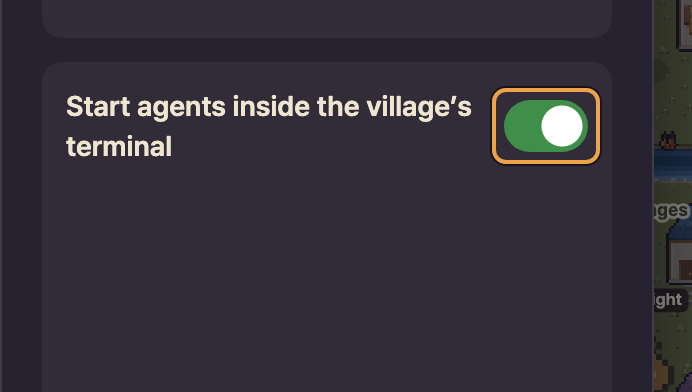
Start your AI from a terminal, a window where you type commands. Turn on this switch to keep chatting in the village.
See what your residents are doing, ask for help, and read their replies.
Your villageOverview
Your village1/9
Example
Right-click the Devalley icon in your menu bar or taskbar. Choose Open the residents panel
to meet your residents.
Your village2/9
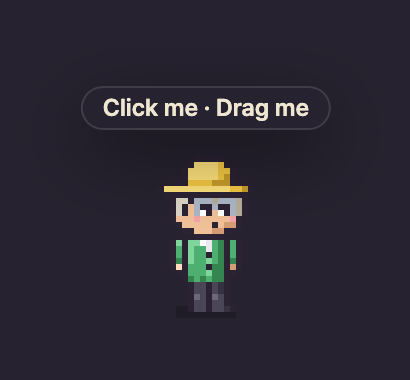
Turn on Walking residents
to see them stroll along the bottom of your desktop.
Your village3/9
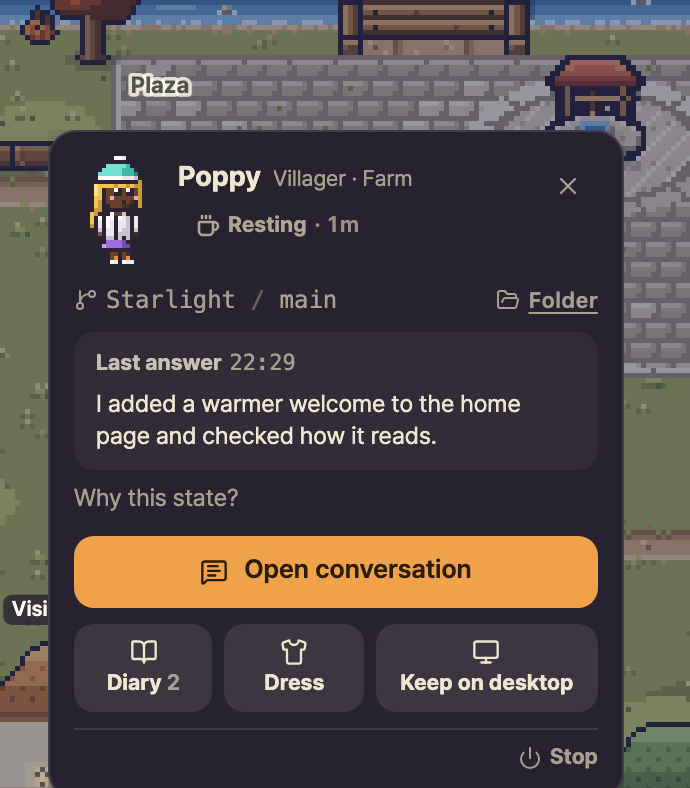
Choose Map
under Village window
and select a resident.
Your village4/9
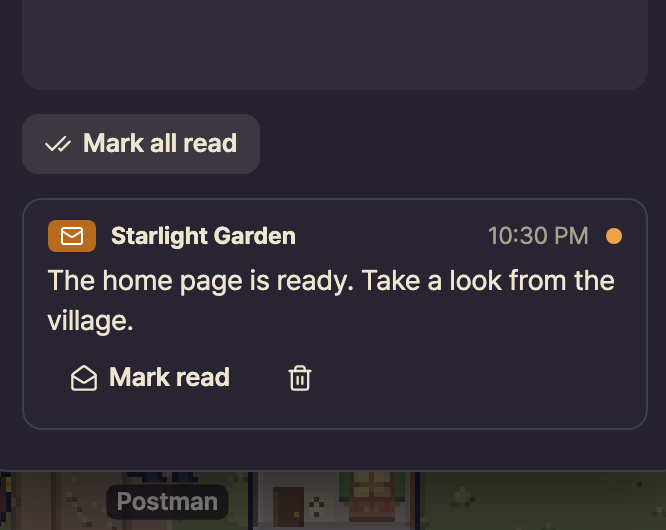
Open Inbox
to read your letters.
Your village5/9
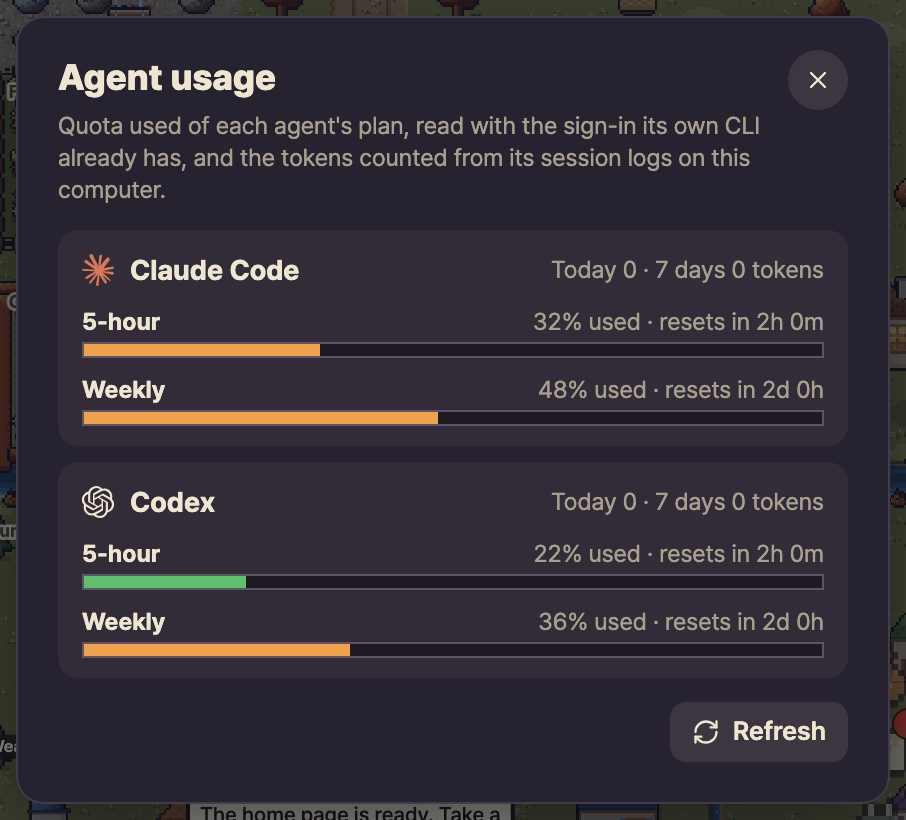
Open Agent usage
to see how much you have left and when it resets.
Your village6/9
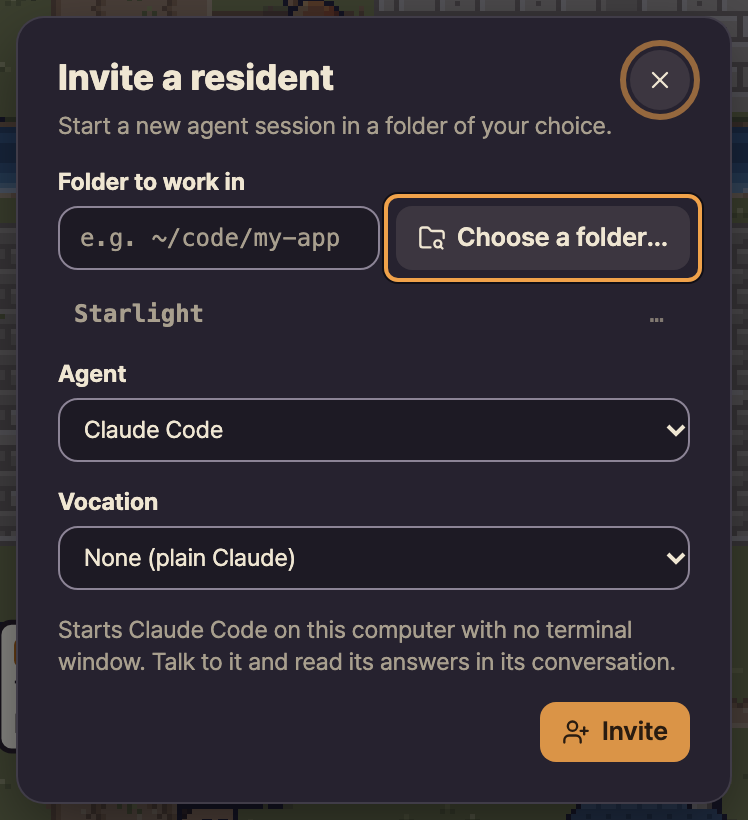
Open Invite a resident
and select Choose a folder…
.
Your village7/9
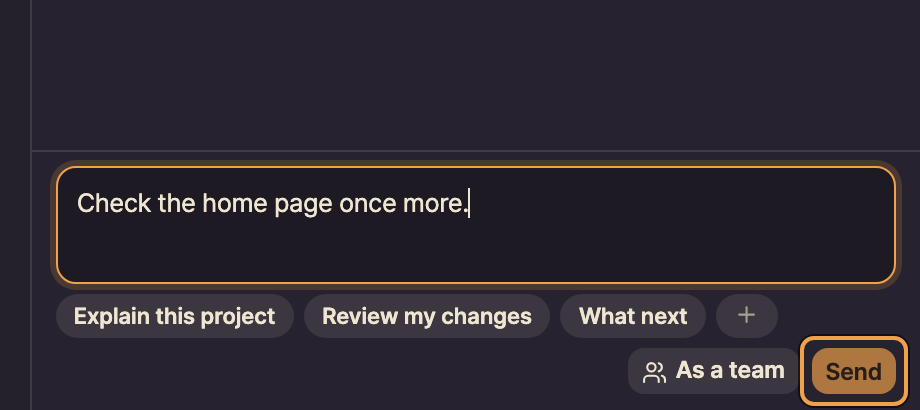
Type a request and select Send
. Read the reply right here.
Your village8/9
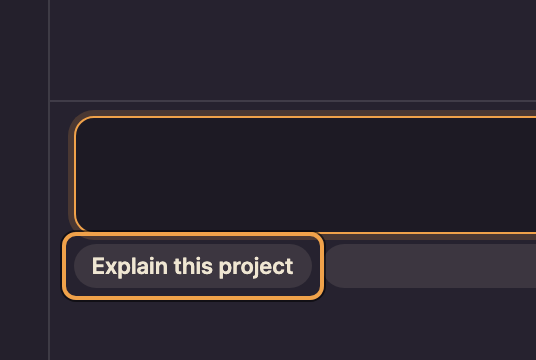
Select Explain this project
below the message box to start a conversation.
Your village9/9
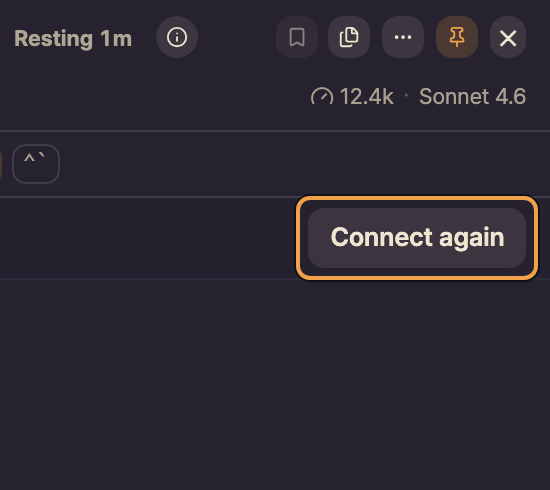
Reopen your terminal, a window where you type commands. Choose Connect again
.
Open a resident’s menu or work with links and files right from a reply.
Right-click shortcutsOverview
Right-click shortcuts1/8
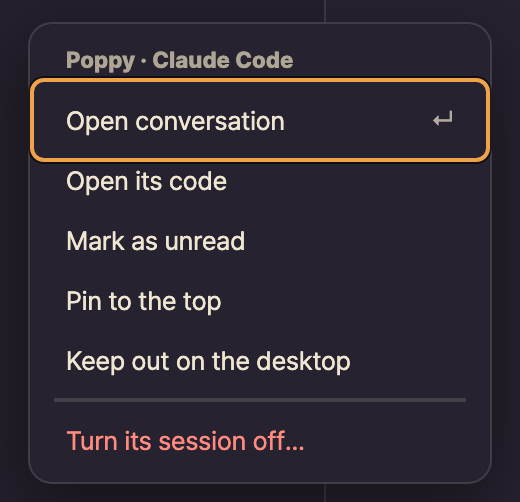
Right-click a resident and choose Open conversation
.
Right-click shortcuts2/8
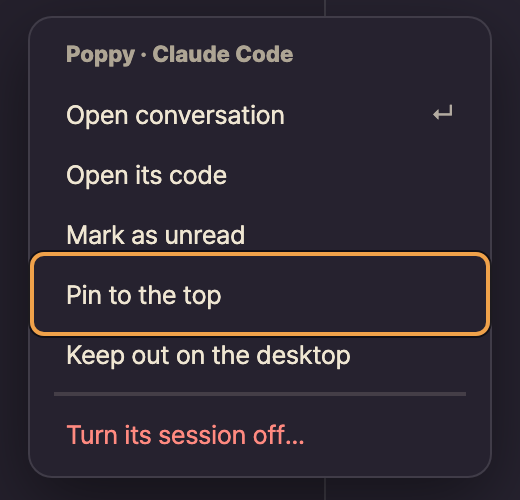
Choose Pin to the top
to keep the resident at the top of your list.
Right-click shortcuts3/8
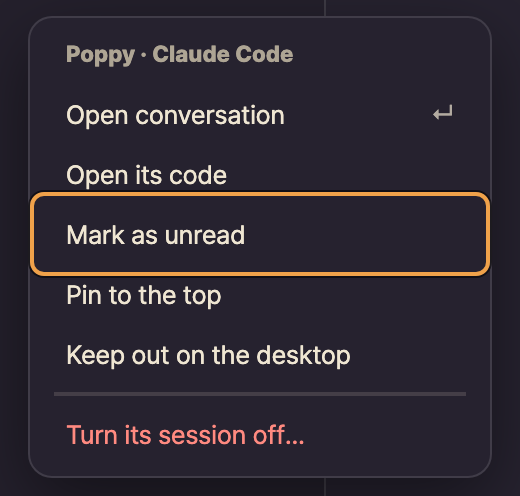
Choose Mark as unread
when you want to come back to a reply.
Right-click shortcuts4/8
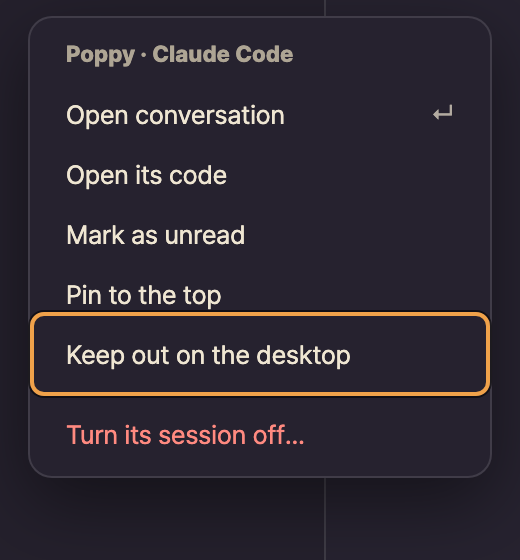
Choose Keep out on the desktop
to keep the resident visible there.
Right-click shortcuts5/8
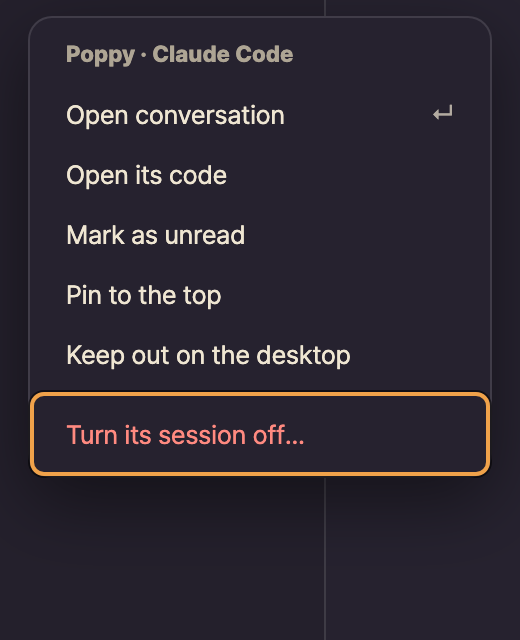
Choose Turn its session off…
to close the resident’s work window when you’re done.
Right-click shortcuts6/8
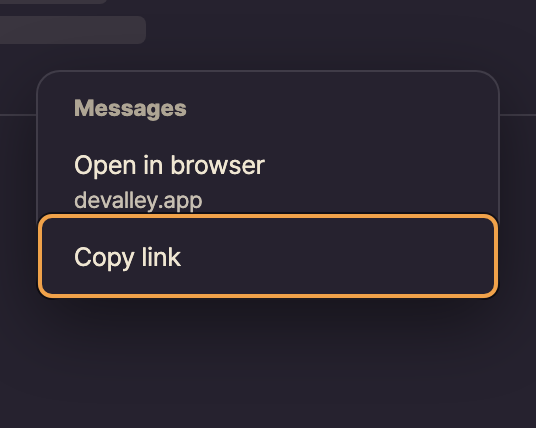
Right-click the link and choose Copy link
.
Right-click shortcuts7/8
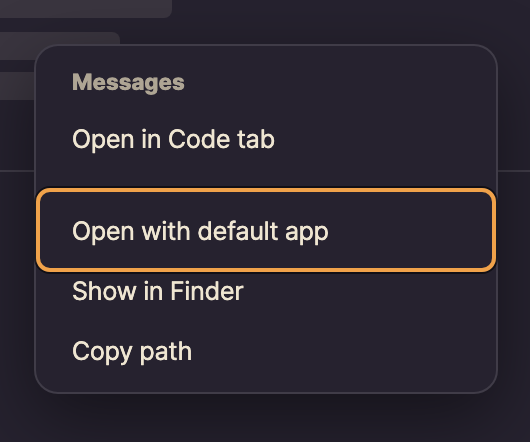
Right-click the file and choose Open with default app
.
Right-click shortcuts8/8
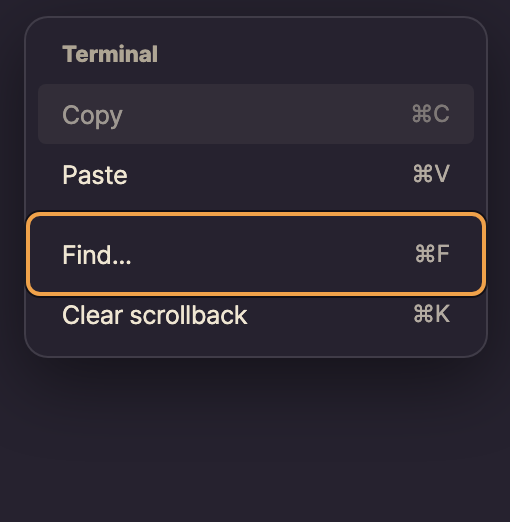
Right-click the terminal, a window where you type commands. Choose Find…
.
See what’s happening now and catch up on earlier work.
ProjectsOverview
Projects1/7
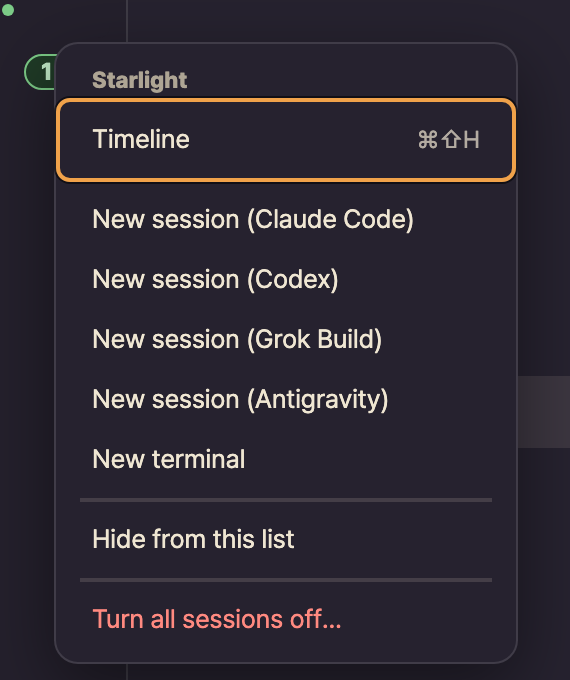
Select the gear beside the project name and choose Timeline
.
Projects2/7
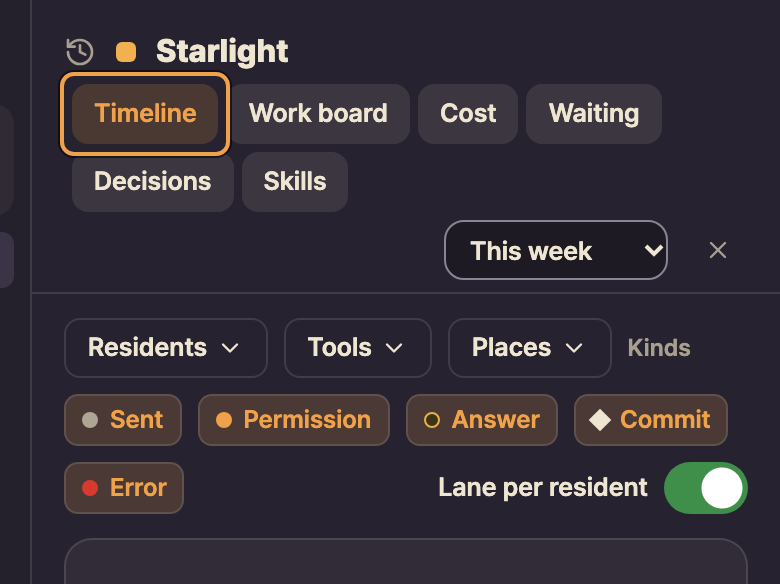
Open Timeline
to see what happened and when.
Projects3/7
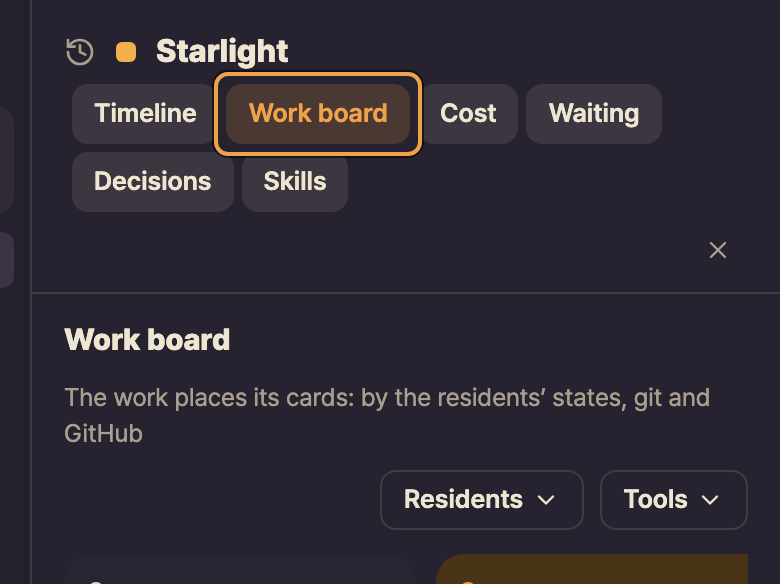
Open Work board
to see who’s working and who needs your attention.
Projects4/7
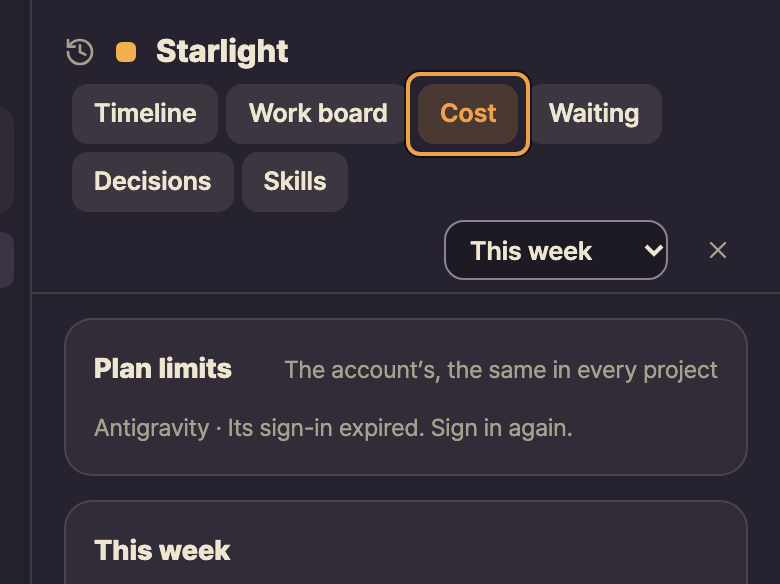
Open Cost
and choose a period to see the estimated cost of the work.
Projects5/7
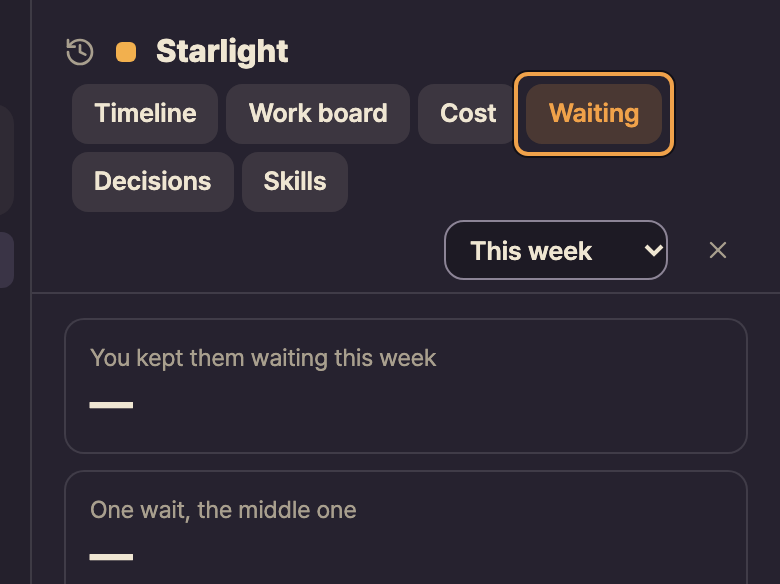
Open Waiting
to see how long residents waited for you to reply.
Projects6/7
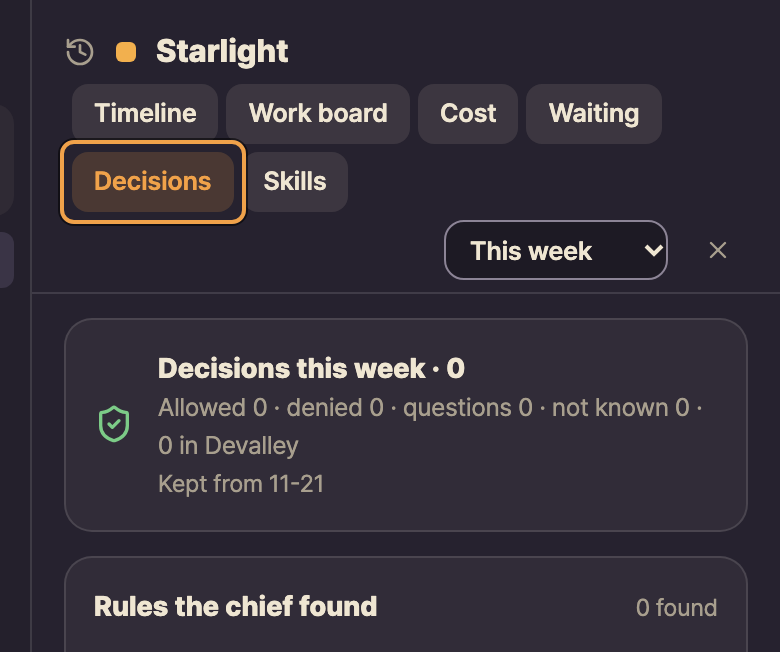
Open Decisions
to see requests you allowed or declined.
Projects7/7
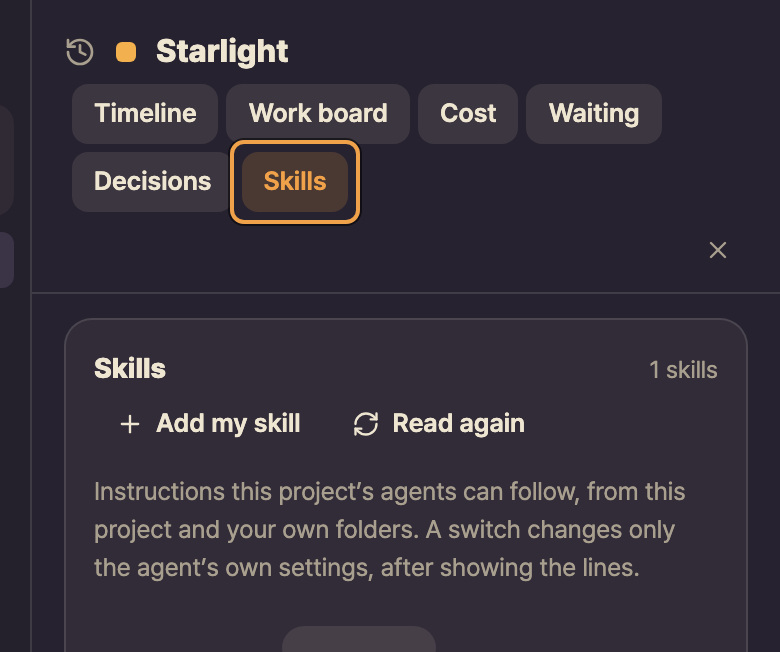
Open Skills
to see the instructions your AI can use again.
Open files beside the conversation and see what changed.
FilesOverview
Files1/7
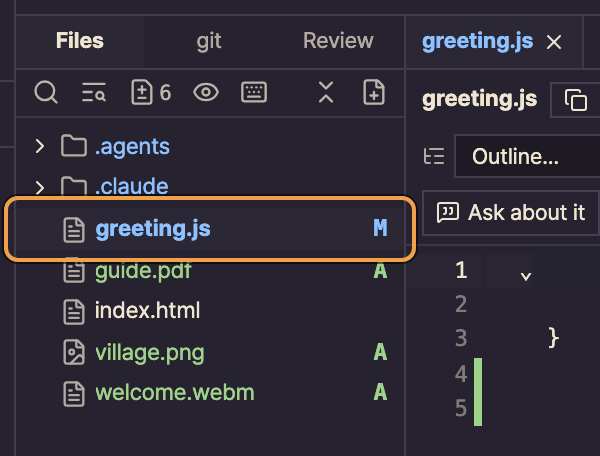
Select Files
above the conversation and choose a file from the list.
Files2/7
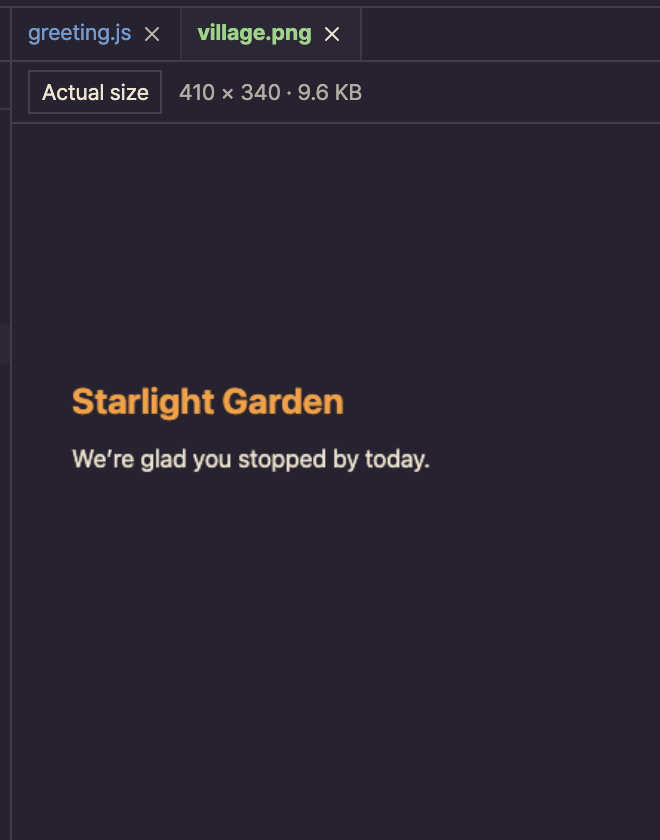
Select an image in Files
to see it.
Files3/7
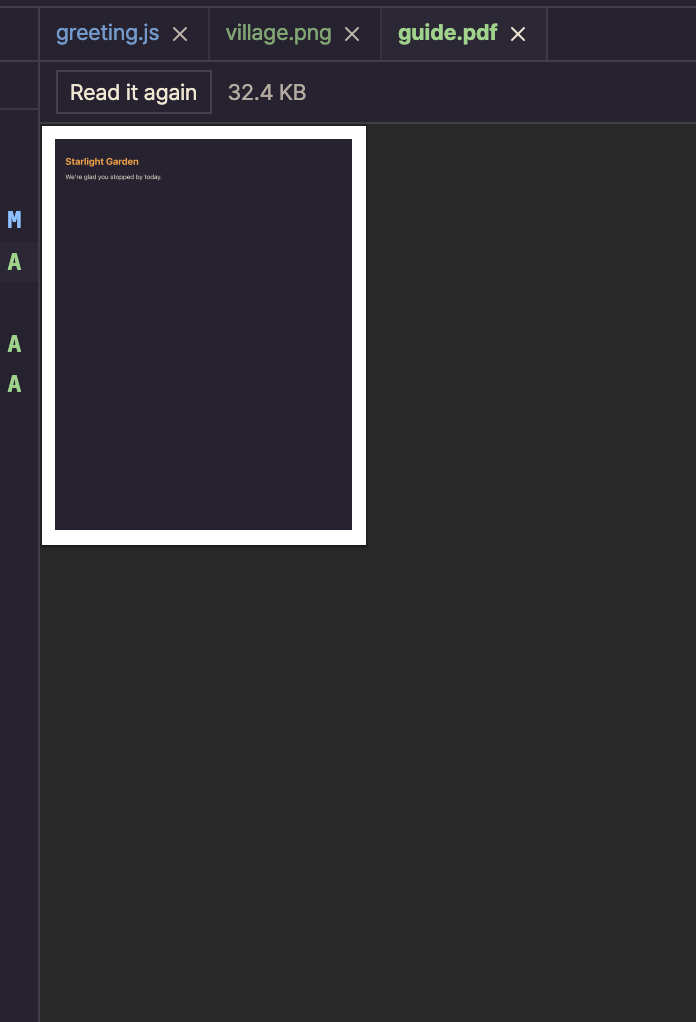
Choose a PDF in Files
to read it alongside the conversation.
Files4/7
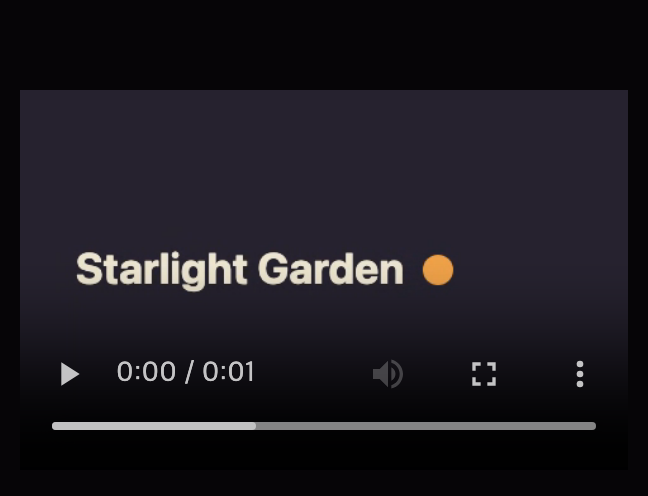
Choose a video in Files
and press play.
Files5/7
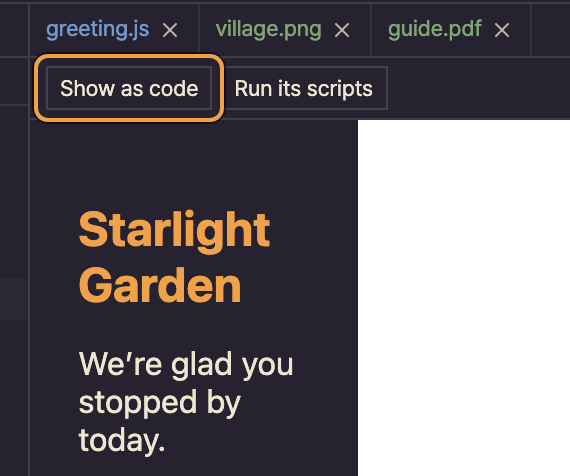
Open an HTML file to see the page. Select Show as code
to read the code.
Files6/7
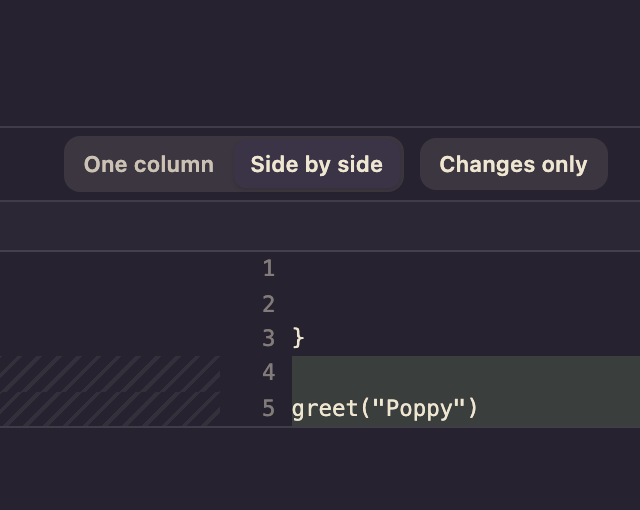
Select See this turn’s changes ›
above the reply to review the changed lines.
Files7/7
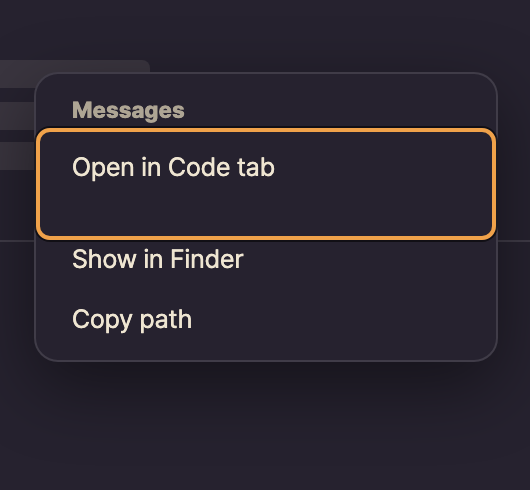
Right-click a file in the reply and choose Open in Code tab
.
Save instructions for work you do often and use them again.
SkillsOverview
Skills1/5
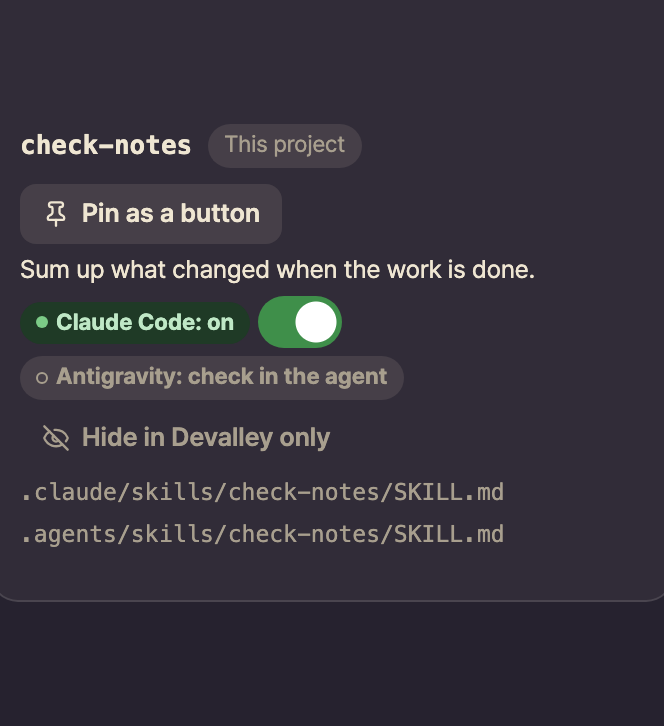
Open Skills
to see each skill’s name and what it does.
Skills2/5
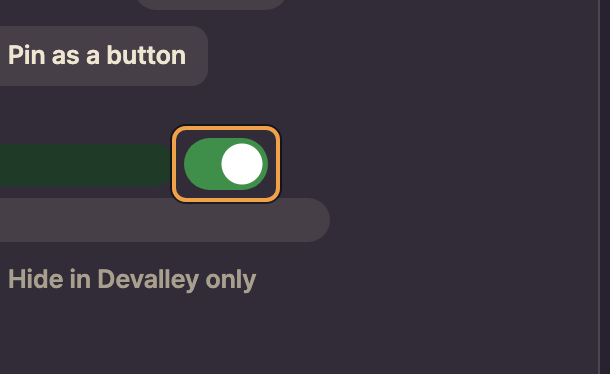
Flip the switch beside the skill and select Write
to confirm.
Skills3/5
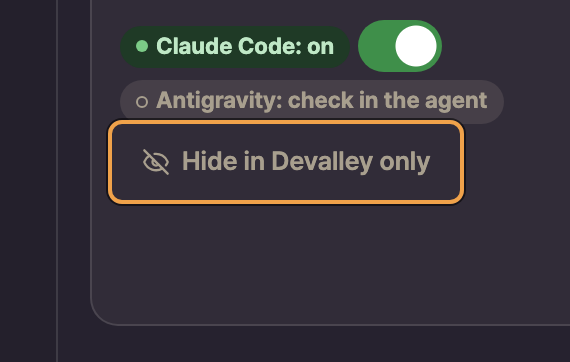
Select Hide in Devalley only
to remove the skill’s button from the village.
Skills4/5
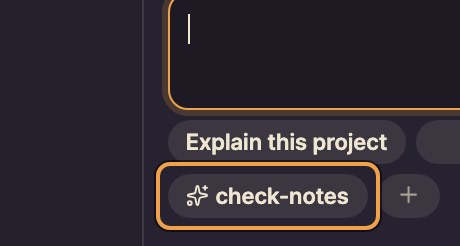
Select Pin as a button
to put the skill below the message box.
Skills5/5
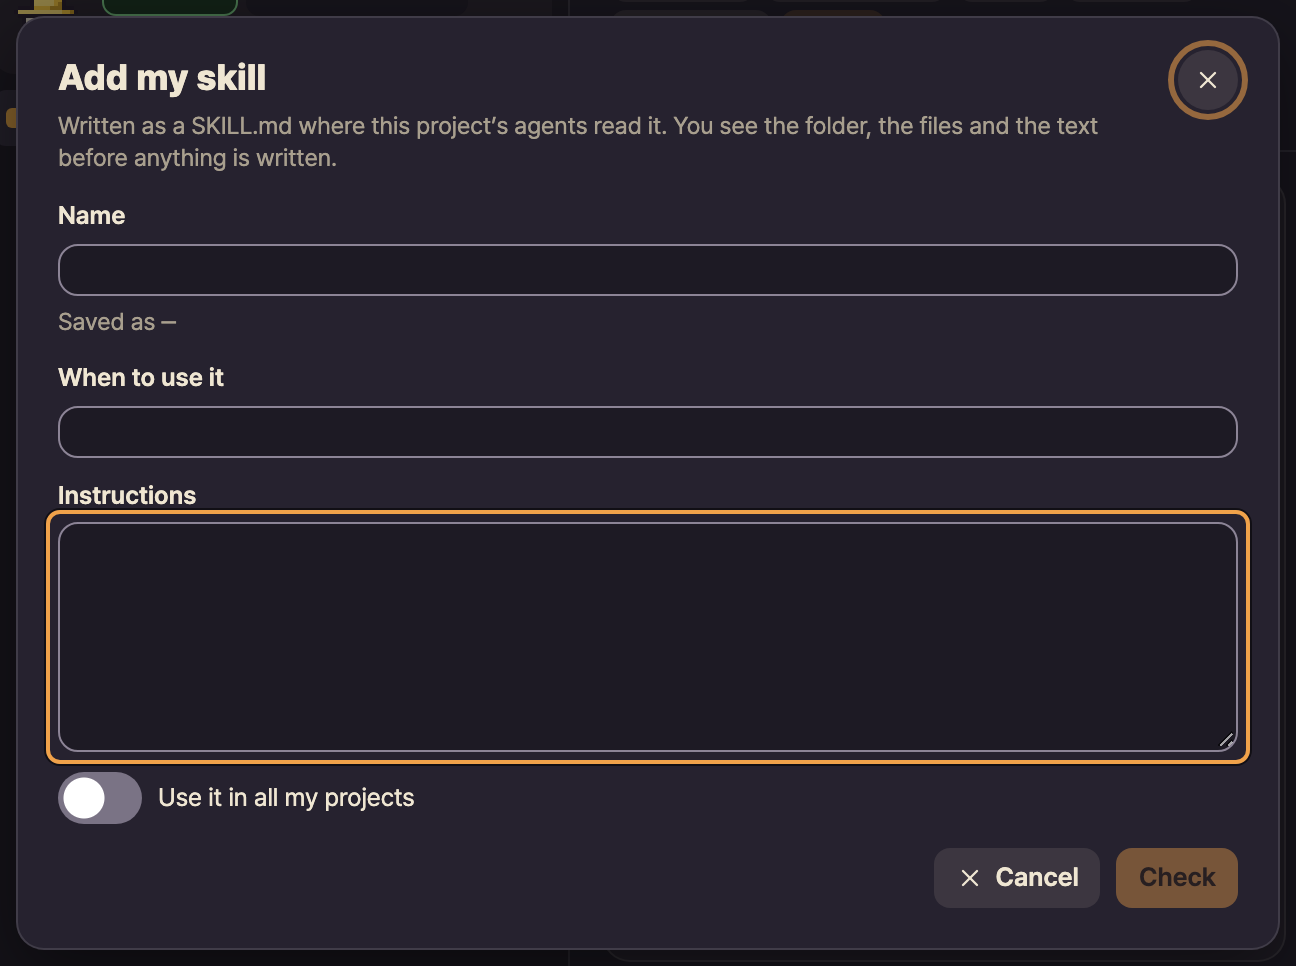
Select Add my skill
and write down how you like the work done.